Recipes, Food Stories, Adventures, and Other Musings
How to Set Up a Wood Fired Pizza Oven – Step by Step Guide with Pictures
Almost no visit home is complete without my Dad firing up his pizza oven, and this last visit was no exception! Upon popular request from my cousin, Diana, who is a proud new owner of her own wood fire pizza oven, we decided to document the set-up of our oven to share on the blog. I took a picture of each step and added explanations in the captions below each one, so I’m hoping this is easy to follow along! For all of the new pizza oven owners out there, I hope this is a helpful guide to set up for success for a fun pizza night.
Pictures and guide below!
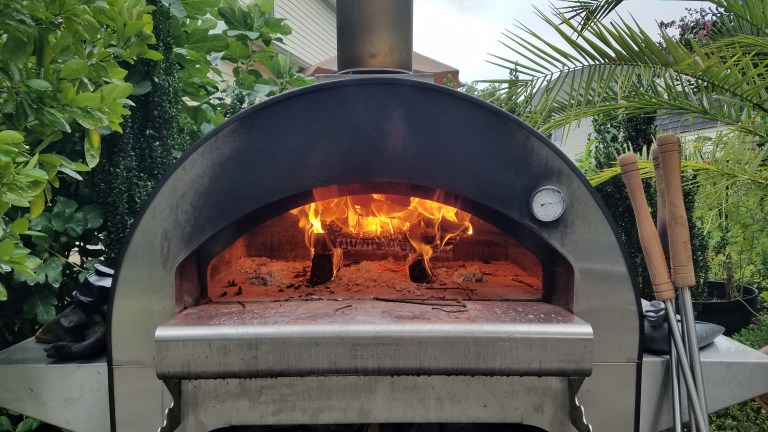
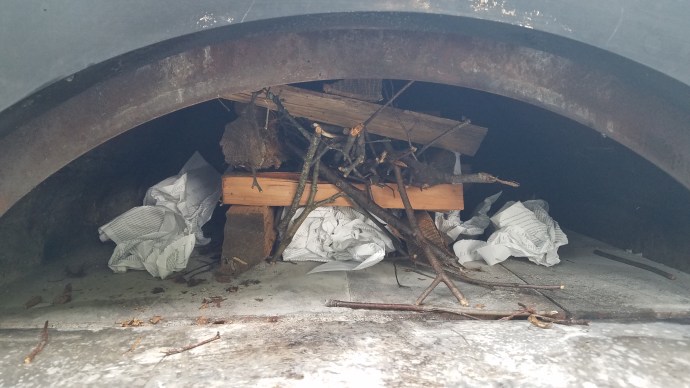
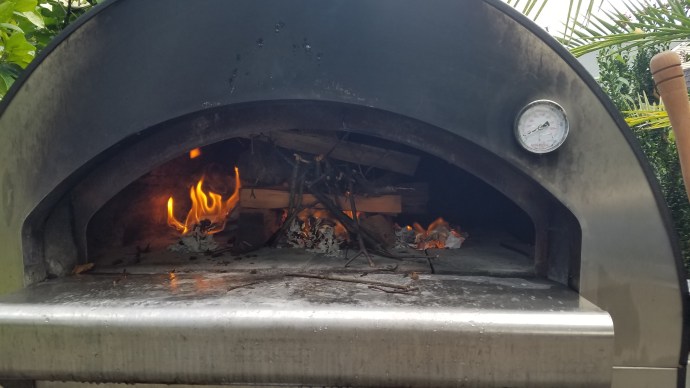
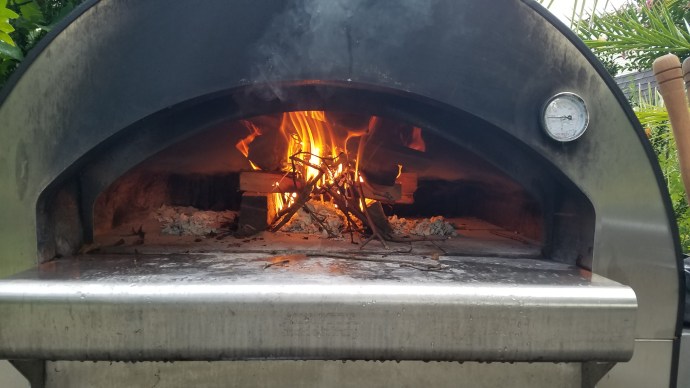
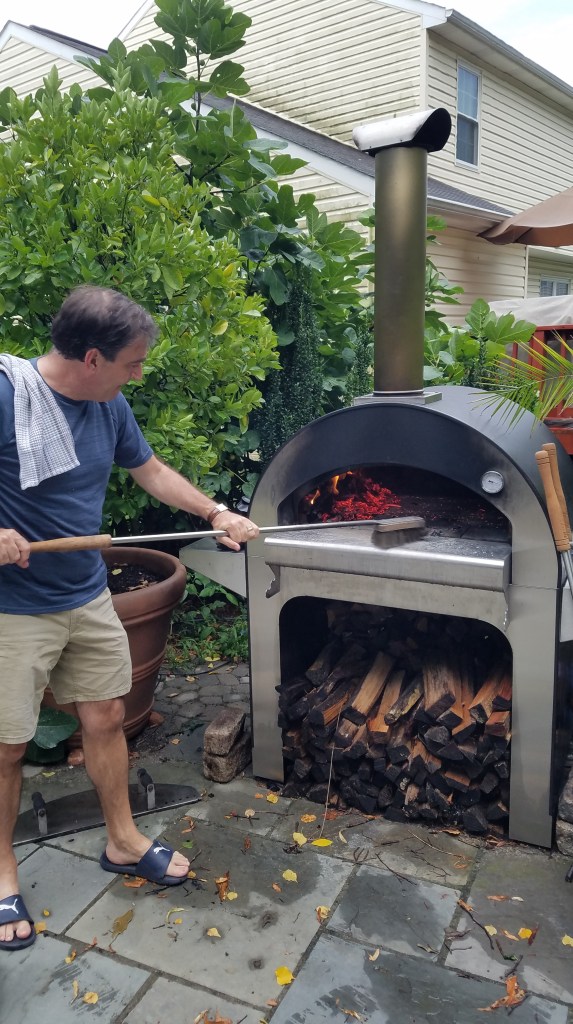
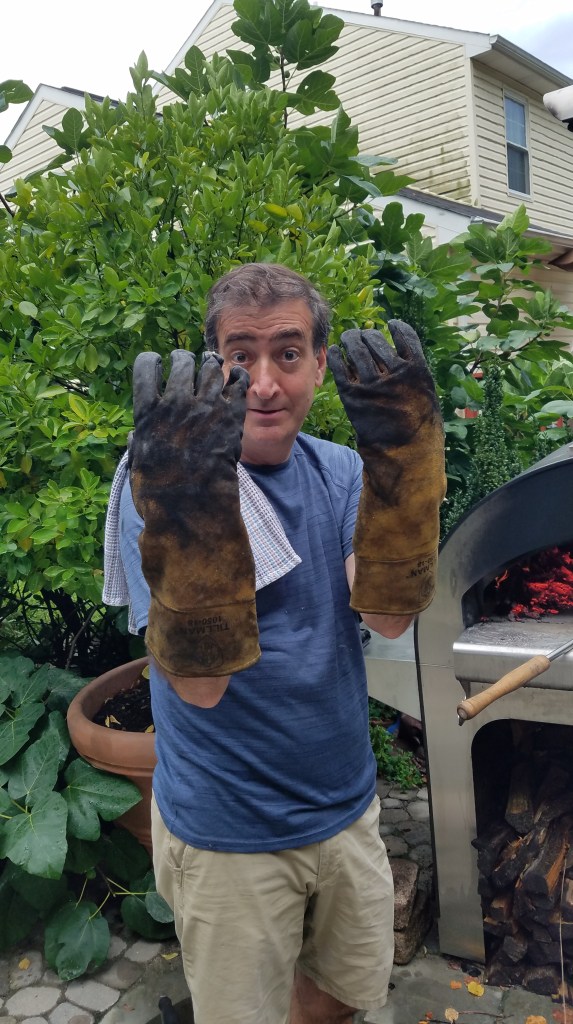
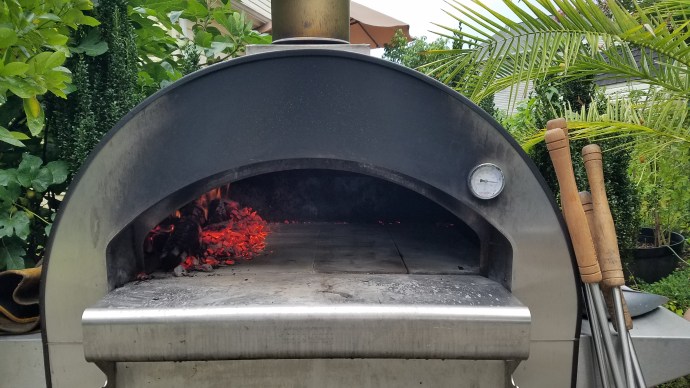
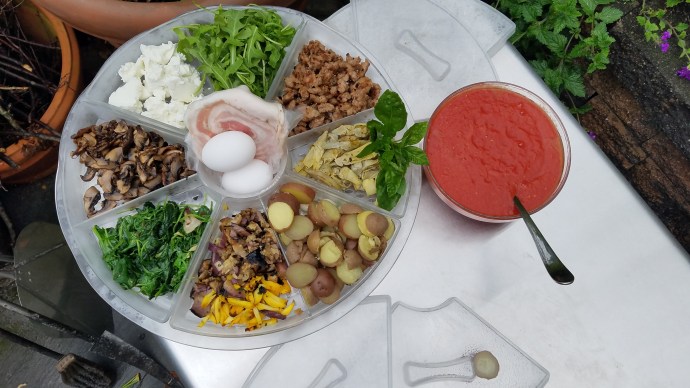
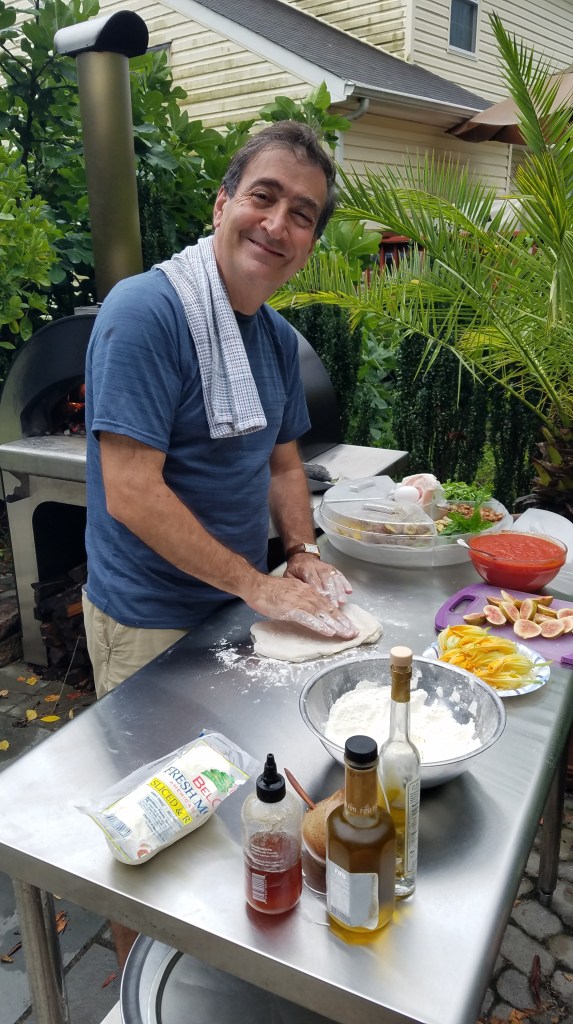
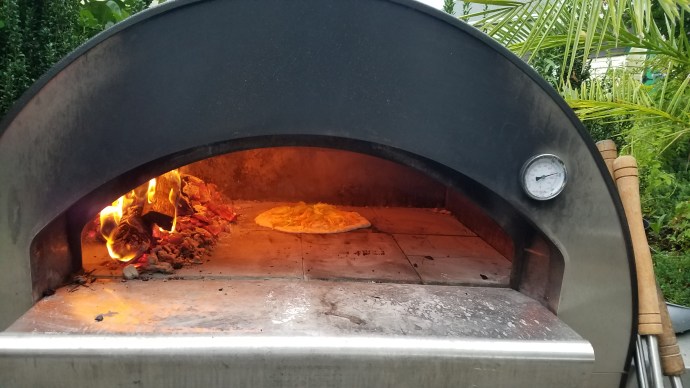
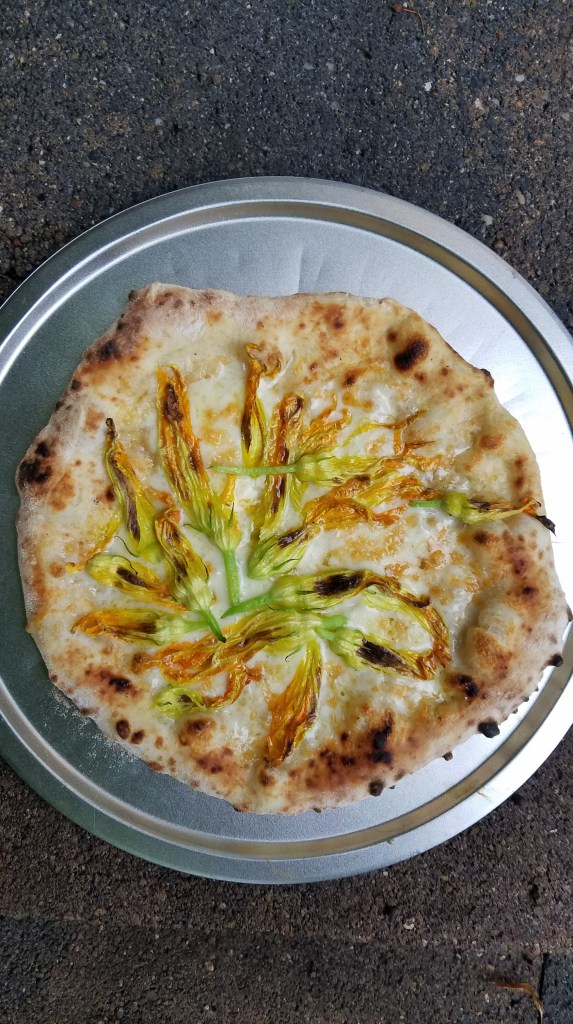
Step 1: Set up the fire! To do this, my Dad builds a stack of larger logs (Jenga style) with some smaller sticks going up the middle and paper at the bottom/surrounding the pile. Note that all the wood should be as dry as possible – if you live in an area where it rains a lot, my Dad suggests leaving dry wood in the oven for next time, or storing wood indoors.Step 2: Light it up! My Dad uses a lighter to light the paper. The smaller sticks should catch next, followed by the larger logs.Step 3: Allow the fire to grow and ensure everything is igniting fully. You can see at the temperature gauge that even though the fire is fully burning, the oven itself is not hot enough (only around 200F). Step 4: Fully heated oven! All of the logs are burning nicely, and the temperature of the oven is up to 800F or so. This stage takes about 10-15 minutes of heating. Step 5: Move the fire! My Dad has a tool that looks like a large hook that helps sweep the burning logs off to one side. The tool is necessary to do this safely, so if you don’t have one, get one! Link to something similar here.Step 6: Sweep the ashes! My Dad uses a wire brush with a long handle to do this. Sweep the entire floor of the pizza oven by moving the ashes over by the rest of the burning coals, and sweep the front ledge as well to keep everything neat and to prevent ashes from getting on your pizzas during entry/removal. Again, if you don’t have a brush, the link in Step 5 has a similar option.My Dad recommends getting a good pair of welding gloves for these steps. They help protect your hands and arms, remember: these things get hot!These are the ones he uses and likes. Not sponsored obviously, just a word from a fan!Step 7: Swept, hot, and ready to cook! You can see that the coals are all burning nicely off to one side, while the oven is around 800F, with plenty of cleared working surface for the pizzas in the middle.Step 8: Bring out your toppings caddy! You all have one of these, right? If not, bowls and plates will totally work. Either way, it’s best to have all ingredients ready to go for pizza time, especially if throwing a pizza party or entertaining. That way, you can focus on the assembly, cooking (and eating!) of the pizzas as you make them throughout the evening.Step 9: Start making your pizzas! I’ll post another post for some fun pizza ideas shortly.Step 10: Bake! We usually make one at a time and ideally eat it right away while it’s hot and fresh. Then we go back to make more! Key tips: Be sure to rotate the pizzas as they cook using a pizza peel (a metal one for this application, please!). This way you’ll get even cooking and browning, as the side that is closest to the fire will cook/brown faster. Keep an eye on it and don’t walk away, the pizza will be done cooking in 2-3 minutes (it’s super fast!).Step 11: Pull out your pizza, slice, and enjoy! Repeat with new toppings until full!
I hope this helped explain the set up process of a wood fired pizza oven! It seems scary and overwhelming at first, but practice makes perfect and pizza nights are always a fun time! Happy pizza making, friends!


Your dad makes the BEST pizzas!
LikeLike
That he does! And now he’s sharing his secrets with the world!
LikeLike