
Welcome to my new favorite way to eat Swiss chard. Seriously, these Swiss chard chips are truly addicting – crunchy, oily, salty, umami, and full of all the beautiful nutrients that chard has to offer. Chard bakes up to delightfully crispy chips in the oven in a way similar to kale, and honestly, I think chard chips are far superior to kale chips (sorry, kale). If you’re like me and crave all of the beautiful hearty greens that flood the markets (and my garden!) this time of year, switch up your standard routine of sautéed greens for these super crunchy, totally snackable chard chips! They’re delightfully healthy-ish and just so happen to be completely vegan, and a fun way to add more veggies to your day!


When I discovered that my abundance of garden chard could be turned into chips the same way that kale could, I couldn’t wait to try it. I researched a few recipes and have made several adjustments to reach my ideal recipe below. My recipe does have a lot of oil, but I truly believe that the oil is key to perfectly crispy chard chips. Any less and the chard will burn and become dry, and any more and the chips would be overly greasy. The oil also helps the seasonings and salt stick evenly to every leaf, and gives you that super-satisfying oily flavor that makes eating chips so great. I use good olive oil for this for the health (and flavor) factor, and I stand by this quantity of oil as necessary.
In terms of seasoning, I went with good old fashioned salt (mandatory) and nutritional yeast (optional, but strongly recommended). I love the umami flavor of nutritional yeast, and I really like the way it toasts up in the oven while the chips are baking. Feel free to use any of your favorite seasonings here, but be cautious of anything with added sugar or even added dairy, such as ranch powder. Anything with added sugar may burn during baking, which would not be tasty. Save those spices with potential to burn (ranch powder, cheese powders, sweet spice mixes, and potentially anything with chili peppers or garlic powder) to sprinkle on at the end, after baking.
Recipe down below along with step by step photos, additional photo up top! This makes enough for one big serving (if you’re me), or two normal-sized servings for you and a friend. I would recommend making these fresh every time you want to eat them, as they are definitely best straight out of the oven. Although I didn’t test it, I would guess that these wouldn’t store too well over time, so make fresh batches as you are ready to eat them. My favorite way to eat these are straight off of the baking sheet, right out of the oven, so fresh is best!
Swiss Chard Chips
Ingredients:
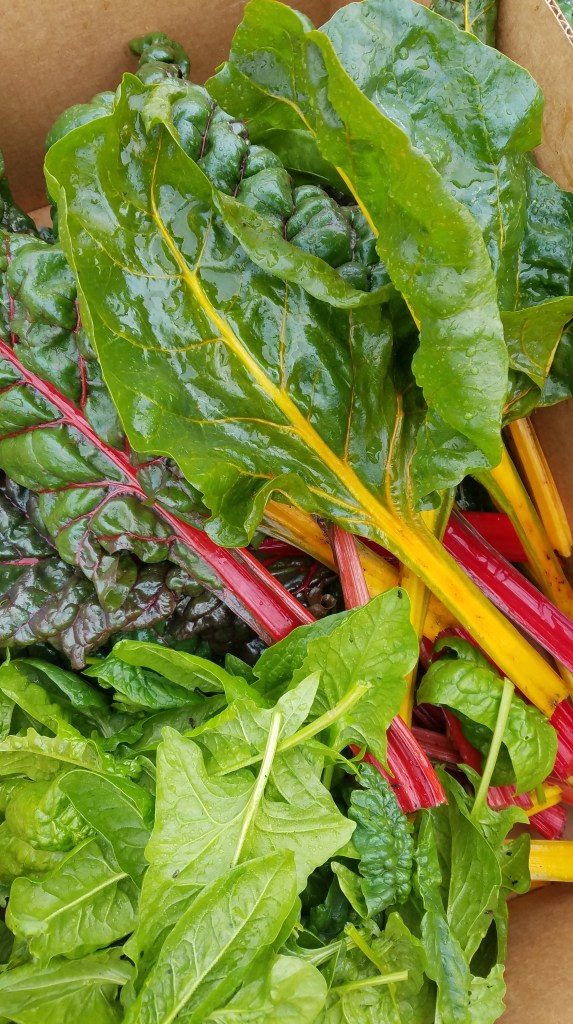
- 4 cups (loosely packed) Swiss Chard leaves, stems removed
- This can be anywhere between 4-8 leaves, depending on size
- 2 tbsp olive oil
- ½ tsp salt
- 3 tbsp nutritional yeast
Method:
- Preheat oven to 400F.
- Wash and thoroughly dry your Swiss chard leaves.
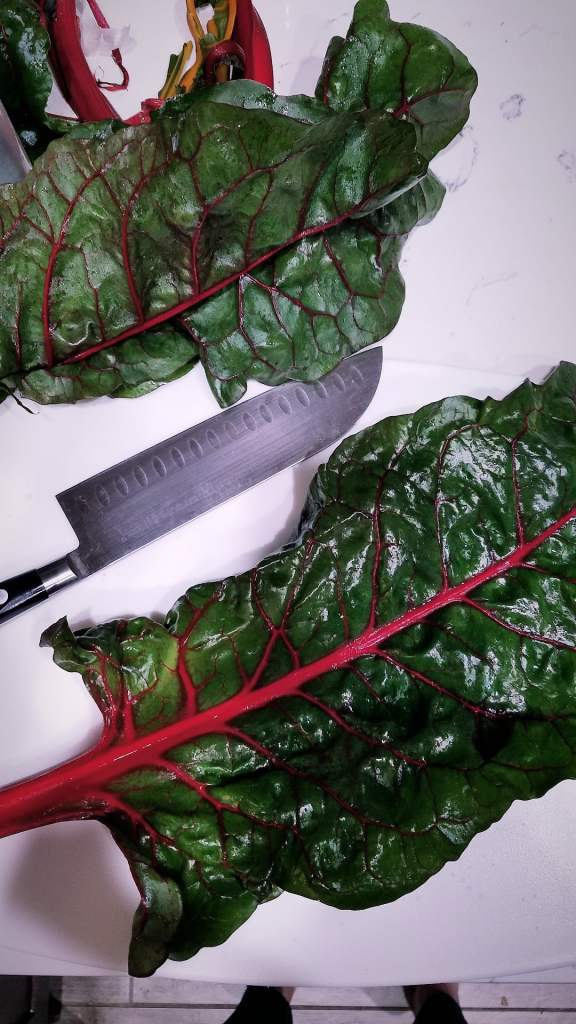
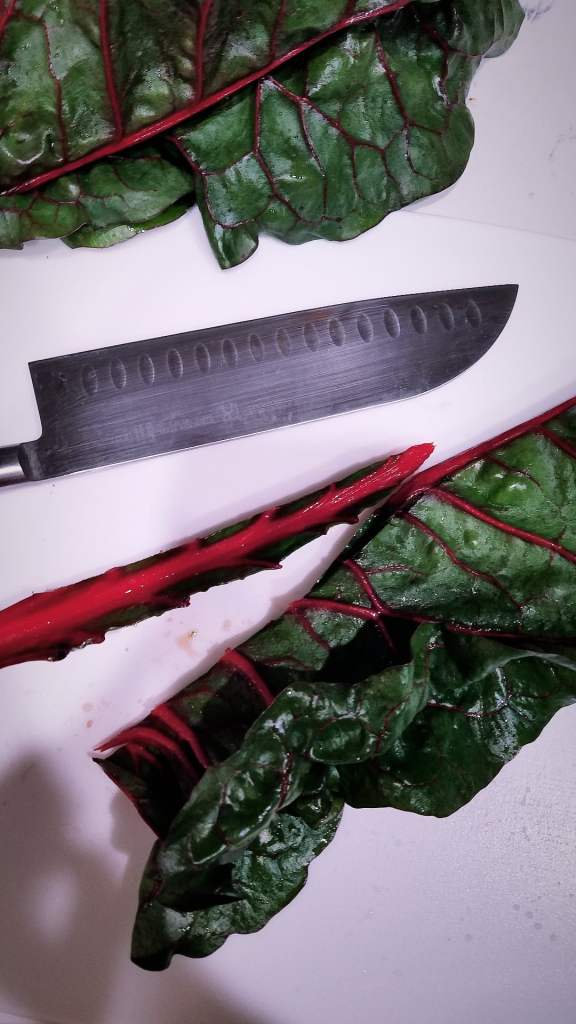
- Gently fold one leaf of Swiss chard in half (lengthwise). Using a sharp knife, make a straight cut where the leaf meets the stem (colorful part!) of the leaf. This should leave you with the leaf separated from the thick stem. Set stem aside for another use.
- Alternatively, simply rip the leaf part of the Swiss chard off of the thick part of the stem. Set stem aside.
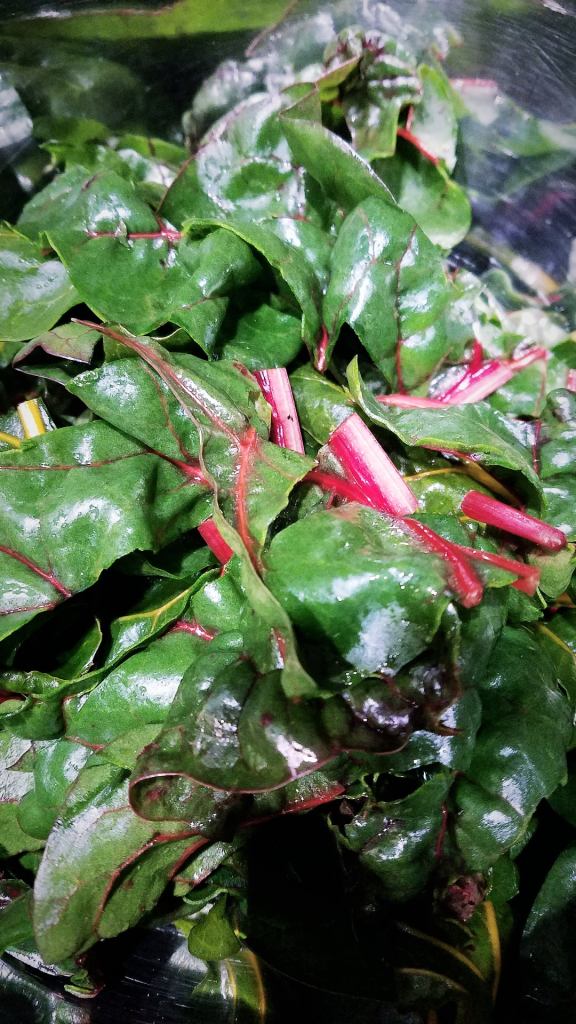
- Roughly chop the chard leaves into 2-4 inch pieces (they will shrink a little in the oven, so don’t go too small!). Place the chopped chard into a large bowl. Repeat Steps 2 and 3 until all of the Swiss Chard leaves have been cleaned and chopped.
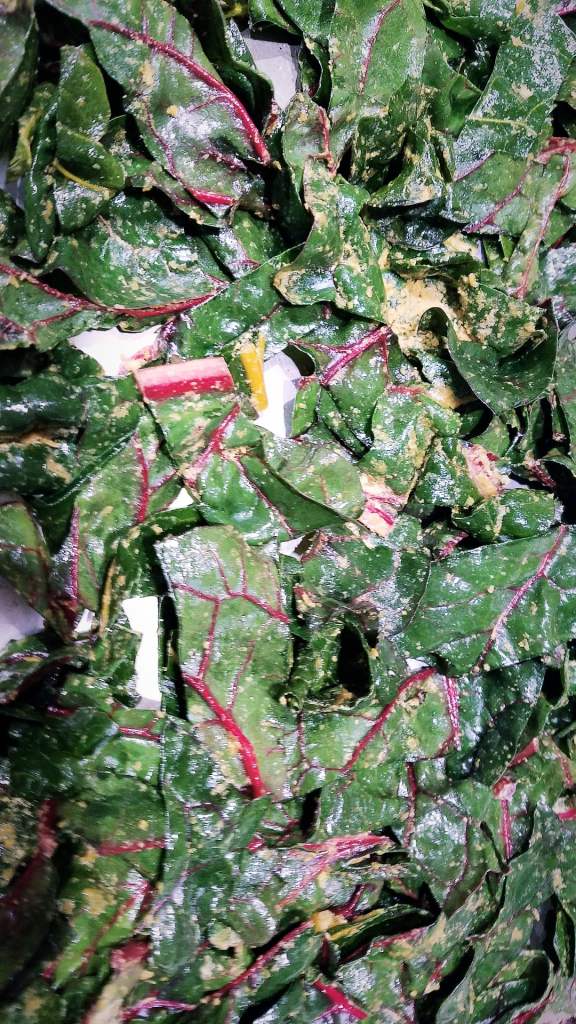
- Drizzle the olive oil, salt, and nutritional yeast over the chopped Swiss chard. Using your hands (or tongs if you prefer), massage the oil and seasoning into the chard until every chard leaf is coated thoroughly and evenly with oil and seasonings.
- Place the chard in a single layer on a baking sheet. Bake at 400F for 15-20 minutes, or until chard is completely crisp and no soft/soggy spots remain.
- In other recipes that I’ve seen online, people tend to recommend baking for as low as 4 minutes. In my experience, it takes closer to 15 minutes to get to crispy. I would start checking these at 5 minutes and then in increments of 3 minutes from there the first time you make these to find your ideal cooking time for your oven.
- Remove from the oven and allow to cool slightly on the sheet pan until the chips are cool enough to touch (about 1-2 minutes). Transfer the chips from the sheet pan to a serving dish using tongs or a spatula (although I’ve found that my hands are the best tools for this job!).
- Start snacking – and enjoy!